I don’t know about you but I love doing up Easter eggs, I think it’s even funner now that I have my own children to enjoy it with!
We always have brown egg laying chickens, they are just our preference and there was no way I was going to be buying store bought eggs just to dye them for Easter!
Everyone always asks “wow can you dye brown eggs?!” Amazingly enough, YOU CAN! It creates a beautiful dark base that results in a deeper richer color than if you were doing white eggs!
Now I chose to hard boil my eggs because you know, toddlers…but you could do without if you so wished!
Let’s get started!

PREPARATION
I typically get things ready the night before when the kids are in bed so it’s ready to go the next day. It just cuts down on the stress! Even though activities are fun it can cause a certain level of anxiety and stress and adds to the extra things to do when supposed to be having fun!
For starters the night before I boil my eggs and prep my batches of dye!
To boil the eggs put as many as you want in a pot with water covering them and add 1/4 cup vinegar to it (it helps lighten them just a smidge). Boil for 10-15 mins but be careful you aren’t boiling them so hard that they will crack. Although cracks can add to the uniqueness of each design the eggs will come through with! Once done, I drain water, add in cool water, let sit, then drain again and simply place eggs in fridge until ready to dye.
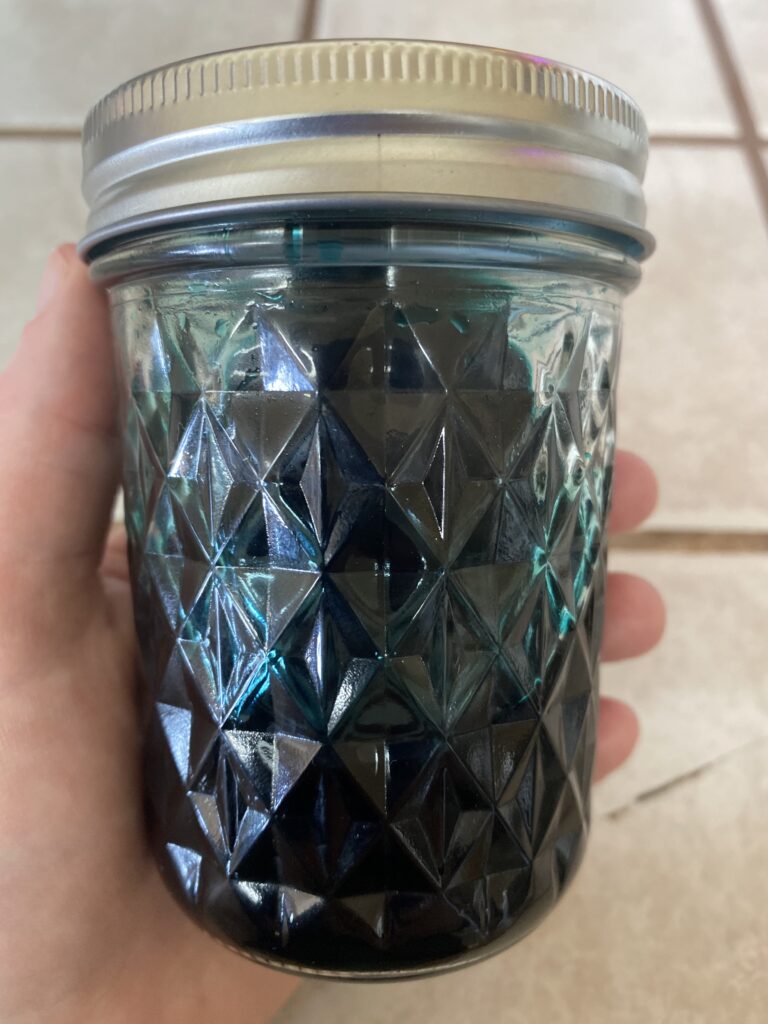
To prepare the dyes you’ll need mason jars or whatever you plan on dyeing the eggs in like cups or bowls, water, vinegar, and gel food coloring. Regular food coloring would work you’d just need to add a bit more of it.
Add 3/4 cup boiling water, 4 TBSP vinegar, and 10-15 drops of gel food coloring into the mason jar. Wait until cooled a bit then put lid on and shake a bit. Voila! It can now sit on the counter until ready to dye your eggs.
READY TO DYE THE BROWN EGGS
Your ready to dye your eggs! Let’s begin!
Lay out an old newspaper on your workspace. It’s not essential but it does help it be a little less messy.
Take your jars of dye and set in a row with lid off on the newspaper. Set a tablespoon or teaspoon in each jar to use as a lifter for each color.
Set your egg on your spoon and slowly set it into the jar of dye.
Leave it submerged for 2 mins or so, can do more or less depending on how deeply colored you want it.
Once color is achieved take spoon and gently lift out and set on the newspaper or a tea towel but be careful if you don’t want it potentially stained (make sure it won’t roll away either) and let air dry.
If so desired you can hold the already dyed egg half in another dye to get some different looks. Blemishes on the eggs will pick up the dye differently and it makes such pretty patterns!
STORAGE
If you want your eggs to keep for more than a couple days make sure that you refrigerate them to keep longer! We did ours a few days earlier and will pull them out on Easter and leave them out after and eventually discard them.
Alternatively you could peel them and eat them after as long as you’ve kept them refrigerated and aren’t too old!